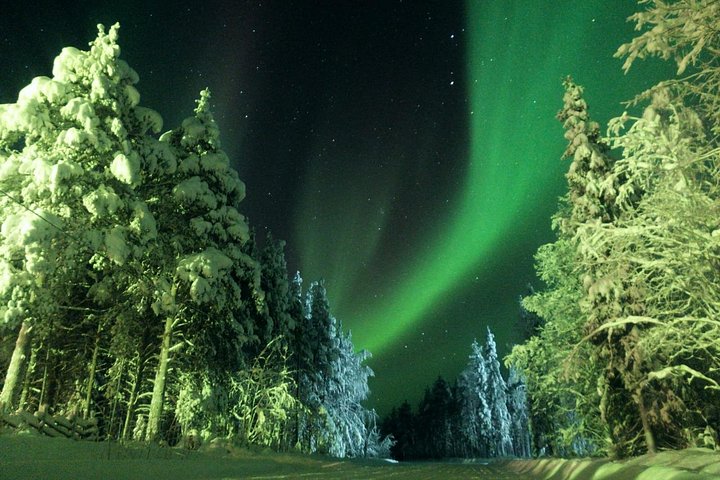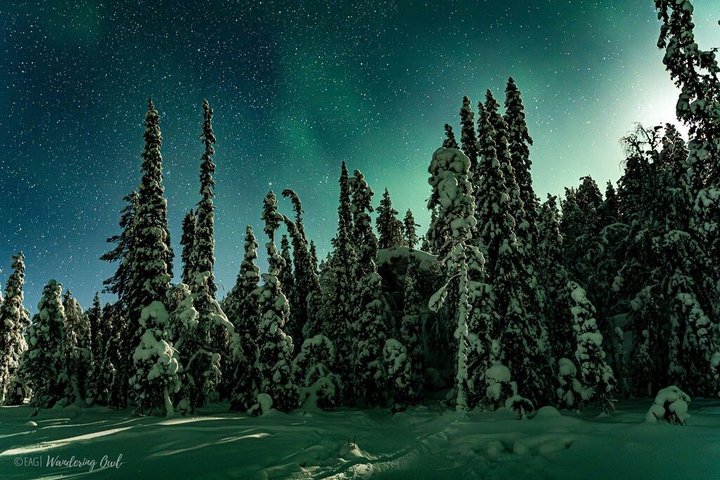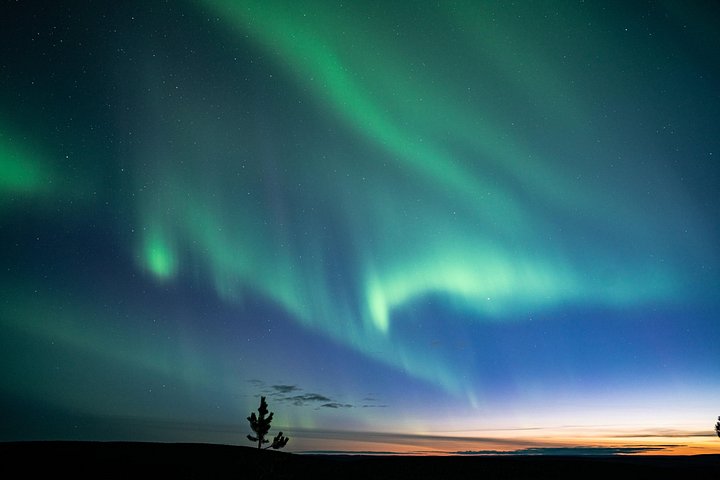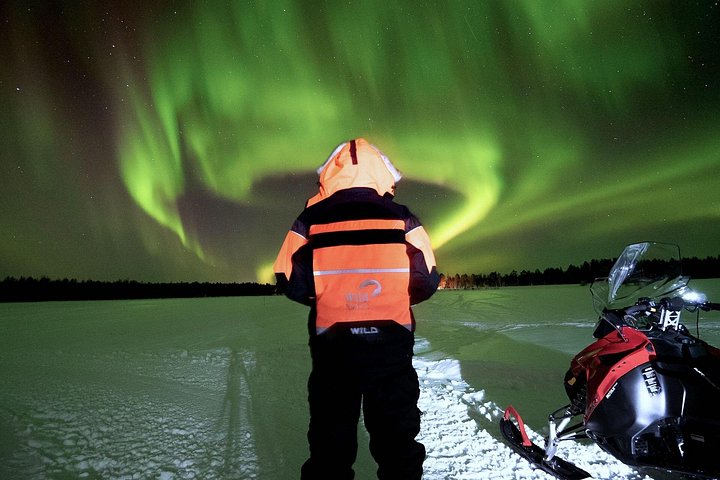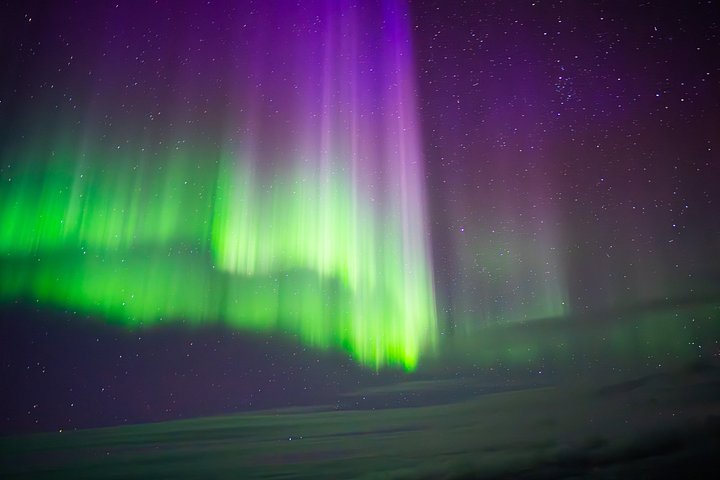
A photography-led aurora tour solves a problem many visitors meet at the first good display: how to turn a glowing sky into a picture. The guide takes the group to a dark location, sets up the shot with you and explains the essentials: open the aperture, raise the sensitivity, lengthen the exposure and keep the camera dead still. Whether you carry a mirrorless camera or a phone, you finish the evening knowing why your pictures look the way they do and how to improve them.The format blends the logic of a regular aurora hunt with an informal workshop. Time is spent moving to a clear spot, then you shoot, review and adjust while the sky does what it does. Some guides also take portraits of travellers against the aurora, which is often the souvenir people value most. The group is kept small so the guide can look at each screen and help with focus, a task that is hard in the dark.
Photographing the aurora is easier than people assume but fussier than they hope. The core recipe is simple: a wide lens, a tripod, manual focus set to infinity, an exposure of a few seconds to perhaps twenty, and an ISO that suits the brightness of the display. Fast-moving curtains need shorter exposures to keep their shape; a faint arc needs more light.
A guide who knows how to adapt on the spot is worth far more than a printed cheat sheet, particularly when you are cold and your fingers are numb.Phone photography has improved greatly. Night modes can capture a useful aurora image if the phone is braced and the shot is given a few seconds to resolve.
The guide can show you how to lock focus, set exposure and avoid the grain that comes from a hand-held shot. Extra tips matter in the cold: batteries drain quickly, so keep a spare warm in an inner pocket, and let a lens warm up slowly when you return indoors to avoid condensation.
Composition is the second half of the lesson. A strong aurora photograph usually needs a foreground, such as a snow-laden spruce, a frozen lake edge or a wooden hut, to give scale. The guide will choose locations with those features and show you how to place them against the sky.
Expect gloves with thin liners, a head torch with a red light setting so you do not wreck your night vision, and a patient attitude. You will usually finish with a handful of keepers, and you may well be the only person in your group not staring at a screen when the sky finally lights up.
A few preparations will let you make the most of the lesson. Before you travel, charge every battery fully and practise switching your camera to manual mode, turning off the flash and changing the focus without looking at the screen. Bring a lens cloth, because condensation is common when you move between cold air and a warm vehicle.
Memory cards fill quickly with long exposures, so carry a spare. If you are using a phone, clean the lens, turn on the night mode, and set a timer so that your finger does not shake the shot. After the tour, back up your images the same evening, because cold batteries sometimes fail without warning. The skills you pick up also work at home, whether you are photographing the Milky Way, a city skyline at night or a fireworks display, which makes the lesson a lasting souvenir as well as a pleasant evening.
What to expect
The experience
A small-group evening outing with a photography guide who picks dark scenic locations and teaches night settings, framing and composition.
Best time
Clear nights from late August to early April, with winter snow giving the strongest foregrounds.
How long
Three to four hours, with time spent at several locations.
Tips
Bring a tripod if you have one, a spare battery, and a head torch with a red light mode; learn your camera's manual controls beforehand.
Quick picks
- Best for
- Keen photographers and anyone who wants a good aurora picture, not just a memory.
- Families
- Better for teenagers and adults with some patience; younger children may find it slow.
- Couples
- Good for couples who want portraits together under the sky.
- Pair with
- A daytime scenery or snowshoe outing to practise landscape composition.
- Time needed
- An evening, with a late return.
Good questions
Do I need a professional camera?+
No. Phones with a night mode and a small tripod can produce good aurora images. Cameras with manual controls give more flexibility.
Will the guide help with settings?+
Yes, that is the purpose of the tour. Guides explain exposure, focus and composition and help you adjust as the display changes.
Is the aurora guaranteed?+
No. The tour searches for the lights but cannot control the sky. Some products include conditions about repeat nights, so check the terms.
Can I borrow a tripod?+
Some operators supply tripods, others expect you to bring your own. Confirm when you book.
What is the best time to go?+
Clear dark nights between late August and early April. Winter snow adds foreground interest, while autumn can bring milder temperatures.