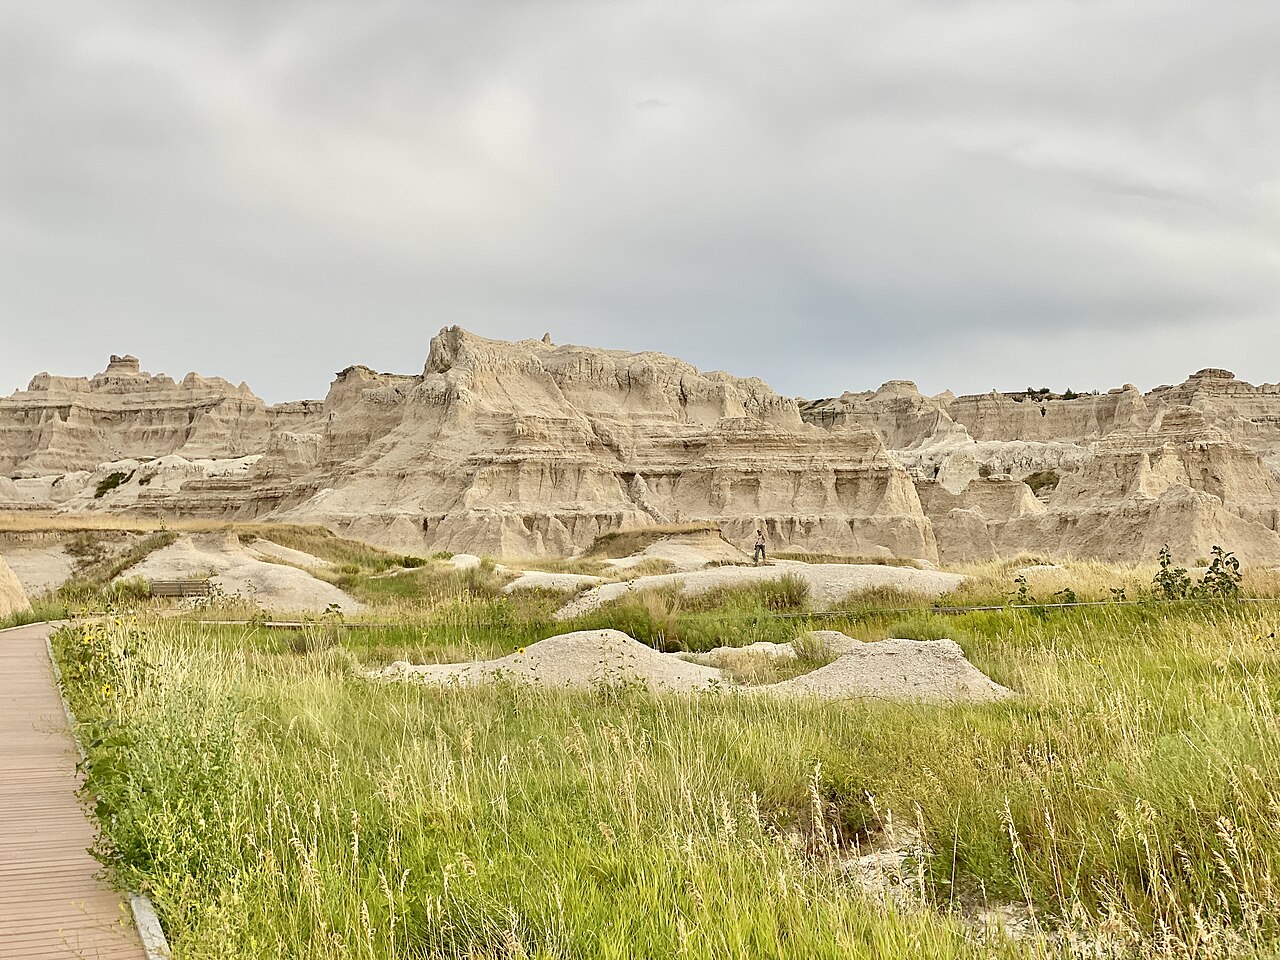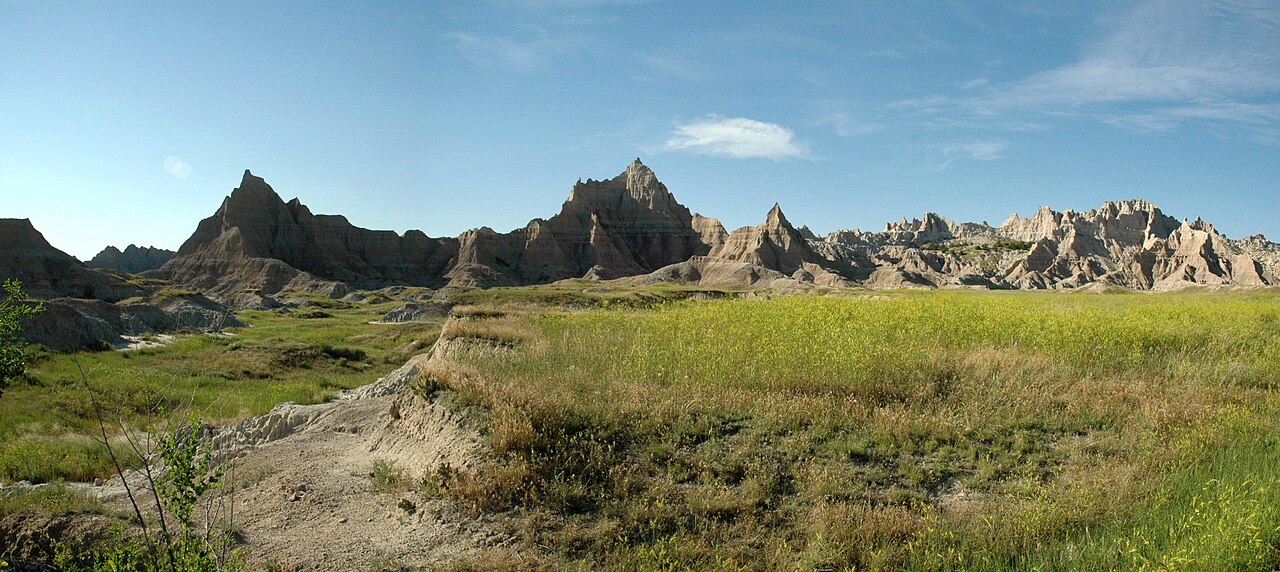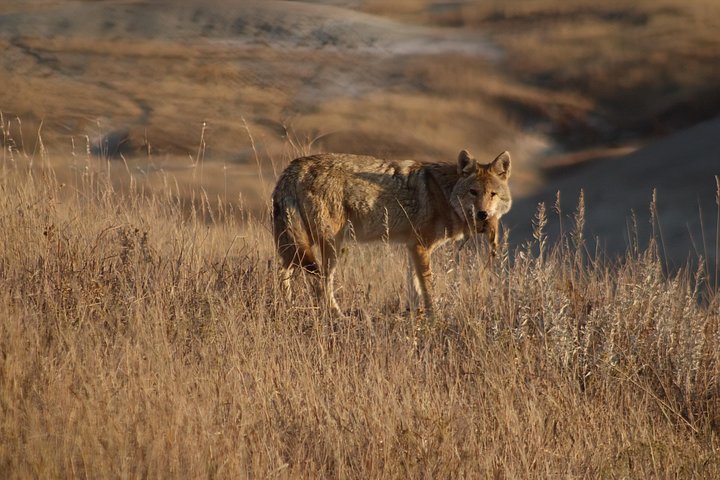
The Badlands rewards photographers more than almost any other park on the northern plains. The formations are striped in cream, pink, rust and gray, the prairie behind them rolls to the horizon and the sky is large, dark and dramatic. But the same features that make it photogenic can also defeat a camera: flat midday light washes out the color, summer haze softens distance and the scale of the landscape is hard to capture. This guide covers when to shoot, where to stand, what to carry and how to decide between going alone and joining a guided outing.
Chase the edges of the day
Color in the Badlands depends on light angle. Within an hour of sunrise and sunset the low sun rakes across the banding and shadows give the ridges depth, while at midday the layers look pale and flat. Plan your shooting for early morning and late afternoon, and use the middle of the day for scouting, hiking and meals. Sunrise tends to be quieter, with fewer visitors at the overlooks and more active wildlife. Sunset brings warmer color, and the hour after it can give soft blue tones before the stars appear.
Good places to start
The Loop Road offers a string of overlooks, and the easiest wins are the viewpoints near Pinnacles, Yellow Mounds and Big Badlands Overlook, where banding is at its richest. The Door and Window boardwalks put you among the formations with short walks, and the Notch Trail gives dramatic views across the White River Valley. Further west, the Sage Creek Rim Road trades dramatic spires for open prairie, bison and prairie dogs, which suits wildlife photography. For wider panoramas, walk a little way from the parking area so that your foreground has texture, such as a rib of clay or a clump of grass, rather than a fence.
Night sky
The park is a dark-sky destination, and a clear moonless night can reveal the Milky Way. For astrophotography, bring a sturdy tripod, a wide, fast lens, a remote shutter or timer and a headlamp with a red setting. Start with a long exposure at a high sensitivity setting and adjust from there. Let your eyes adapt, avoid bright screens and keep your flashlight low. Check the moon phase before you plan, because a full moon will wash out faint stars but light the landscape beautifully. Read the night sky guide for ranger programs and safe places to set up.
Wildlife
Bison, bighorn sheep, pronghorn and prairie dogs are all possible subjects. Use a long lens rather than approaching, since animals are wild and bison in particular can be dangerous. Stay inside your vehicle when the animals are close to the road, and give them space. Dawn and dusk give the best chance of activity and the best light. Patience matters more than gear.
What to carry
Bring a wide-angle lens for landscapes, a medium telephoto for compressing layers and a longer lens for wildlife. Pack spare batteries, since cold nights drain them quickly, and plenty of memory. Fine clay dust gets into everything, so bring a blower and cleaning cloth and change lenses in a sheltered spot. Take water, sun protection and layers. A polarizing filter can deepen the sky but be careful at wide angles, where it may create uneven tones.
Safety and etiquette
Stay on trails and boardwalks where posted, because the formations are fragile and crumbling edges can be dangerous. Clay turns slippery and sticky after rain, so skip hikes when storms are likely. Do not collect fossils or rocks, and do not fly a drone, since drones are not allowed in national parks. Park off the pavement only where permitted, and be considerate at crowded overlooks.
Guided options
A guided outing can transform a photography trip. A sunrise tour from Rapid City handles the long pre-dawn drive and puts you at the right overlook for first light, while an evening tour such as Badlands After Dark combines golden hour and stargazing without a dark drive back. A wildlife-focused expedition is ideal if animals are your priority, because an experienced guide knows where to look and how to position you. Private tours add flexibility, so you can linger where the light is best. Check the details of each tour, including departure times, group size and whether park admission is included.
Going alone
If you have the flexibility, staying at Cedar Pass or in Interior puts you minutes from the best sunrise spots and saves long drives. Scout in daylight, note where the sun will rise and set and return at the right time. Check the weather, because cloud and smoke change the color dramatically, and remain flexible, since a stormy sky can produce the most striking images of all.
A simple plan
Arrive the afternoon before, scout two or three overlooks, photograph sunset, stay for the first stars, rise before dawn for first light and spend the middle of the day resting, hiking or visiting the fossil lab. That rhythm gives you the best light in both directions and spares you the stress of racing between stops.