The northern lights are one of the hardest subjects to photograph well, and one of the most rewarding. Yellowknife sits under the auroral oval, so you have many chances, but a good picture still depends on preparation. This guide covers the equipment, camera settings, composition and cold-weather habits that help visitors come home with images they are proud of. You do not need professional gear. A recent phone with a night mode can produce good results, and a basic camera with manual controls can do better.
Equipment
A camera with manual settings, a wide lens and a sturdy tripod is the ideal set. A lens with a wide aperture, such as f/2.8 or wider, lets in more light and shortens your exposure. A tripod is not optional, because exposures last several seconds and any movement blurs the stars. Bring a remote shutter or use the camera's self-timer to avoid shake. If you use a phone, a small tripod or a stable surface is just as important.
Camera settings
Start in manual mode. Set a wide aperture, an exposure of roughly five to fifteen seconds, and an ISO between 1600 and 3200 as a starting point, then adjust. Bright, fast-moving aurora needs shorter exposures to keep the shapes sharp, while a faint glow needs longer ones. Focus manually on a bright star or a distant light, because autofocus struggles in the dark. Shoot in RAW if you can, so you have more room to adjust colour and noise afterwards. Check the screen and zoom in to confirm that the stars are sharp.
Phone tips
Use night mode or a long-exposure setting, put the phone on a tripod or lean it against something firm, and tap to focus on the sky. Avoid digital zoom. Keep the phone warm inside your jacket between shots, because cold drains the battery quickly. If your phone allows manual controls, choose a longer exposure and a lower ISO to reduce noise.
Composition
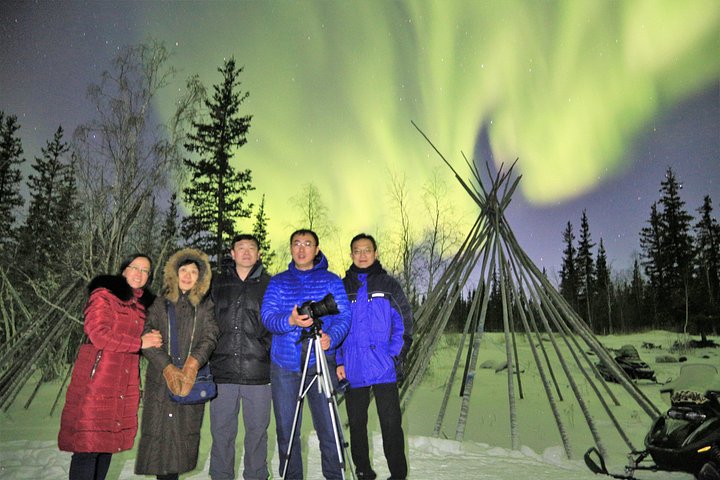
The aurora is more striking with a foreground. Include a frozen lake, a line of spruce, a cabin or a person in silhouette to give a sense of scale. Face north when you can, and look for a wide horizon with little light pollution. A site outside town on the Ingraham Trail or a viewing area arranged by a tour operator is a better choice than a spot under streetlights. If you are taking portraits, ask your subject to stand very still during the exposure and use a faint light, such as a phone torch, for a second or two to light them.
Working in the cold
Batteries lose charge fast in deep cold. Carry spares in an inside pocket and swap them as needed. Bring the camera in slowly after a night out, ideally sealed in a bag, so condensation forms on the bag rather than inside the camera. Wear thin liner gloves under mitts so that you can operate buttons without exposing your skin. Allow your fingers to warm up often. Dress for standing still, not for walking, because photography means long periods of inactivity.
Choosing a tour for photography
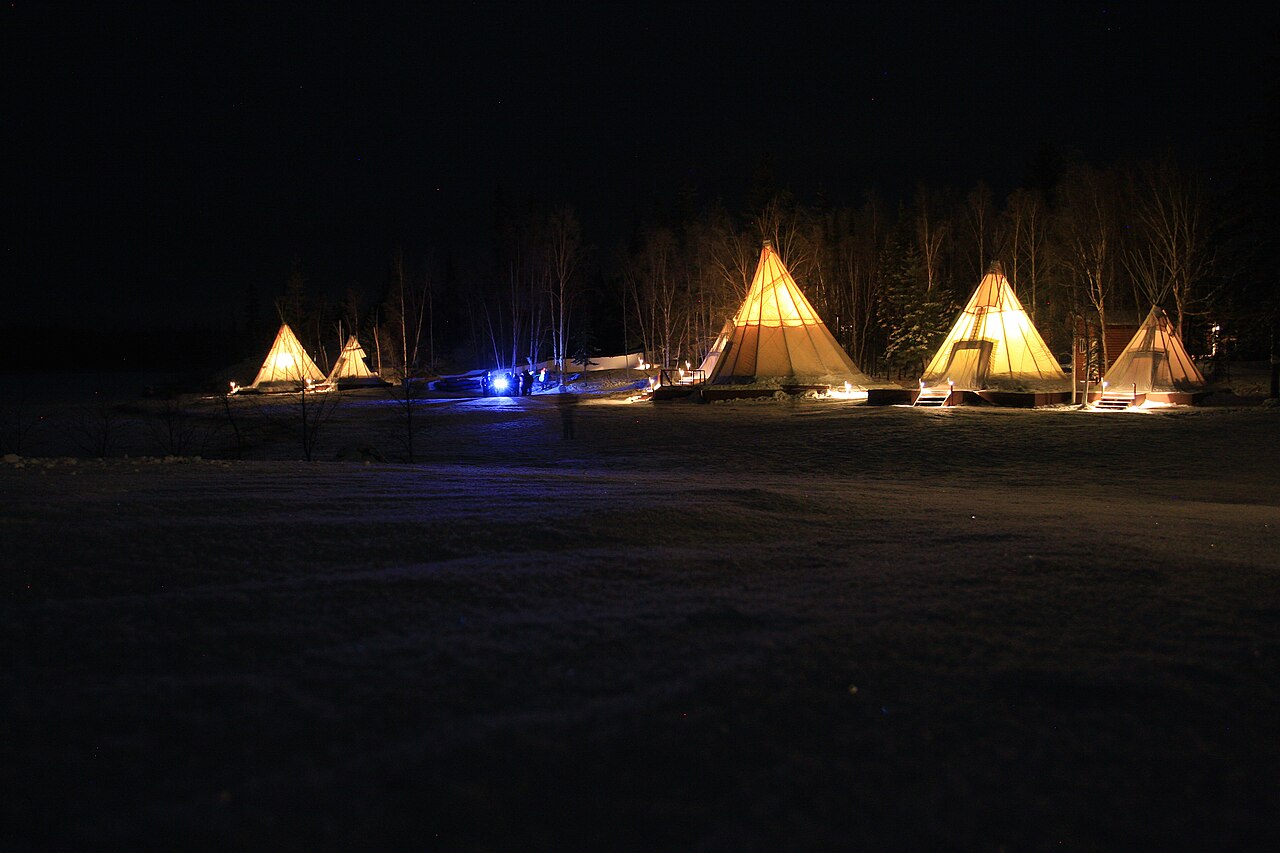
Some tours offer photography help, such as a guide who sets up your camera, takes portraits or suggests settings. If you want that, look for small-group departures and ask what is included. A cabin-based tour, such as the Cozy Cabin Aurora Tour, lets you warm up between sessions, which keeps your hands and batteries working. The Guided Northern Lights Tour page explains the standard format. For more chances, consider a multi-night package, because a single cloudy night can end the trip.
Where to shoot
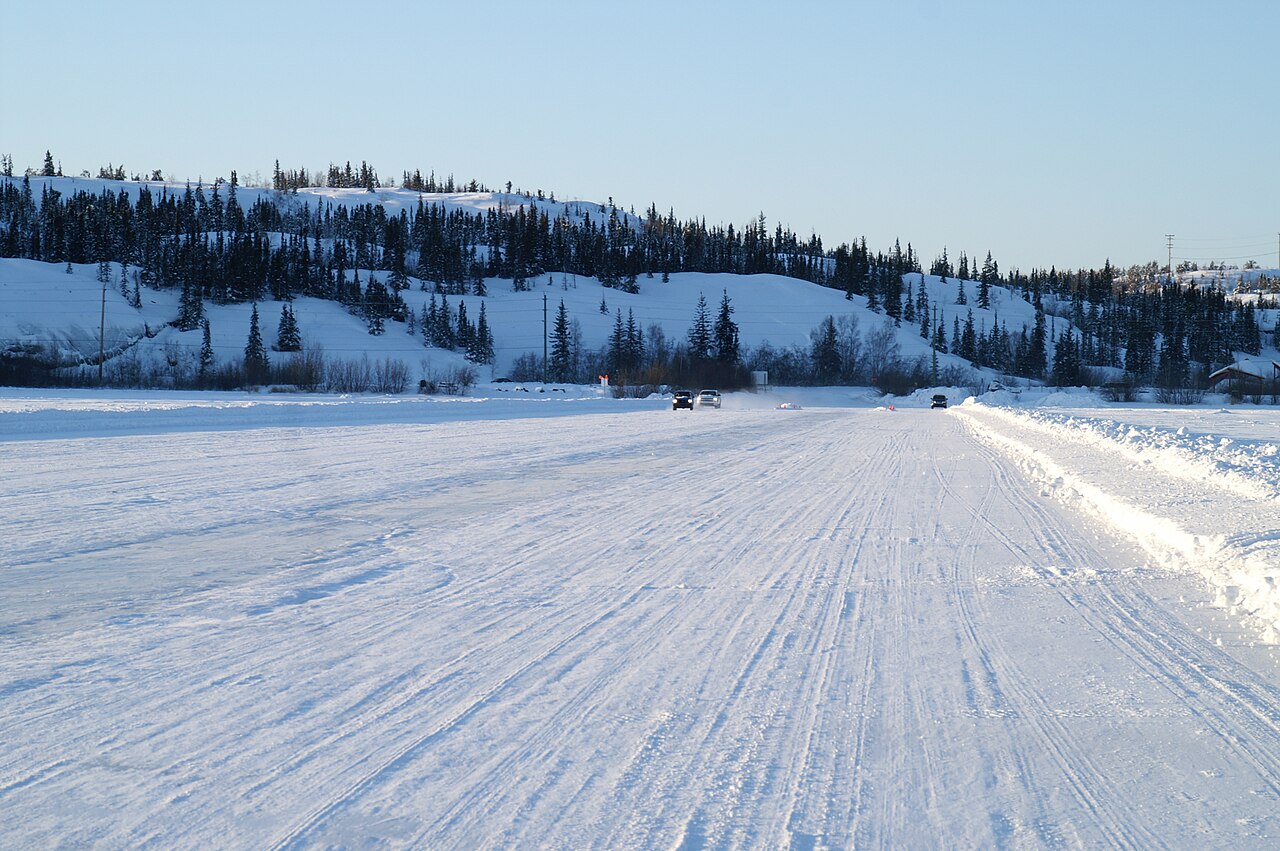
Dark sky matters more than anything else. In winter the frozen lake gives a flat, open horizon, and the roads of the Ingraham Trail lead to quiet pull-offs with little light. Tour operators choose sites for exactly this reason, and they know which direction the clear sky lies on a given night. If you go alone, tell someone your plan, keep to places you can reach safely and never walk onto unmarked ice. Arrive before dark to scout your foreground.
Timing and expectations
The lights are most active around local midnight, though they can appear earlier or later. Check an aurora forecast and a cloud forecast, and remember that the eye sees less colour than a camera. Faint aurora can look grey or whitish to the eye but green in a photograph. Put the camera down occasionally and just watch. The best aurora photographers are the ones who also enjoy the sky.